A yogurt maker is a must have if you make yogurt very often. The yogurt maker will ensure the correct temperature during the milk’s fermentation. This is critical for a good end result, with a great taste and a lot of probiotics.
If you are into fermenting milk to make your own probiotic foods, or just because you like it, you know that sometimes the temperature drops way too lower for the bacteria to be active anymore. People have various ways to maintain the right temperature of their new fermenting batch, but sometimes this just is not enough. I have had many batches that fermented too slow, and the end result was a disaster. The solution was to buy a yogurt maker.
Well, a temporary solution. I realised soon that the temperature control was a problem even with the addition of a dimmer to the setup. I ended up building my own yogurt maker, and if you are just the slightes inclined to the technicale side, you can make your own too. I will get to that more at th end of the article if you are interested.

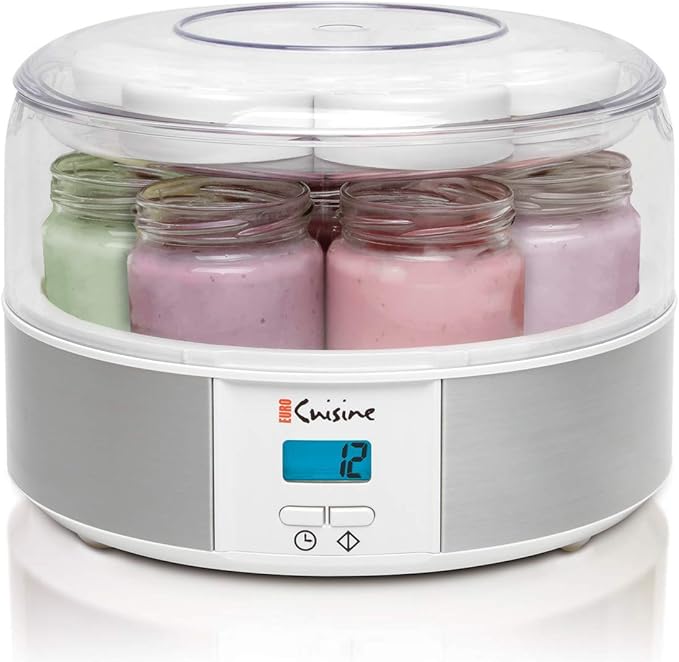
Euro Cuisine Yogurt Maker – YMX650 Buy Now
Yogourmet vs Euro-Cuisine vs Yolife – Which One Is Better?
All three companies have great yogurt makers, and at the end of the day, the choice is going to be a choice of price versus features. If you are willing to pay a little more, you have extra features that help you automate your fermentation process.
When choosing between yogurt makers, you also look at reliability, and warranty coverage. Usually, if a product has more warranty, means the company trusts its reliability, and they don’t mind to cover you with a longer term warranty.
Another factor to look at is the materials of the heating unit, some units tend to be a little flimsy, and made with cheaper materials. Even if they are not broken, when you have to work with flimsy appliances, it doesn’t feel right.
The material of the jars is also a factor. I personally like the glass jars better, and I tend to avoid plastic jars. The low temperatures that the jars are exposed is not going to affect your content , or the jars, if you choose plastic jars, but that is more of a personal choice in my case, so don’t take it as a must.
Temperature control is very important, because if you heat the yogurt batch too much, you will kill a lot of bacteria. Yes, you still get a great yogurt, with a good taste and a a great texture most of the times, but a lot of bacteria is killed in the process. You also get higher chances to ruin your batch.
Feature-wise, some have both advanced and simple models, some manufacturers have just one model. Yolife, for instance has only one model, and it doesn’t have a lot of features, but it is a big seller because the great temperature control in the unit.

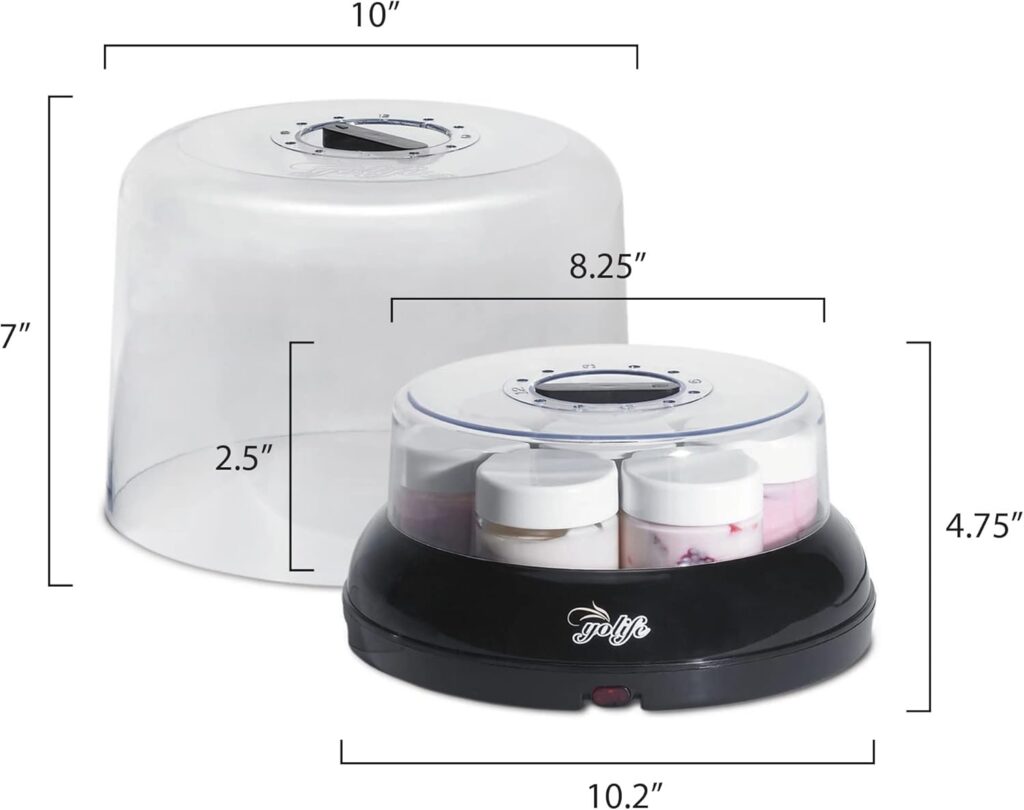
Yolife Tribest A-YL-210RA Yogurt Maker Buy Now
Yolife Yogurt Maker – YL-210
Yolife from Tribest, is one of the best yogurt makers on the market. The best thing about it is that it maintains a constant, optimal temperature, that doesn’t go over the recommended temperature for the health of the culture. The temperature varies around 100f and 110F, which is optimal for yogurt bacteria. Other products pass that temperature, and people need to get inventive to lower the internal temperature in the unit.
The kit comes with seven 6 oz. glass jars, (you know my preference for glass). It features a time indicator to remind you when to move your batch in the fridge. Because of the appropriate temperature during the fermentation, the batches made in Yolife units contain much higher amounts of active cultures than other products.
It also features 5-year warranty.

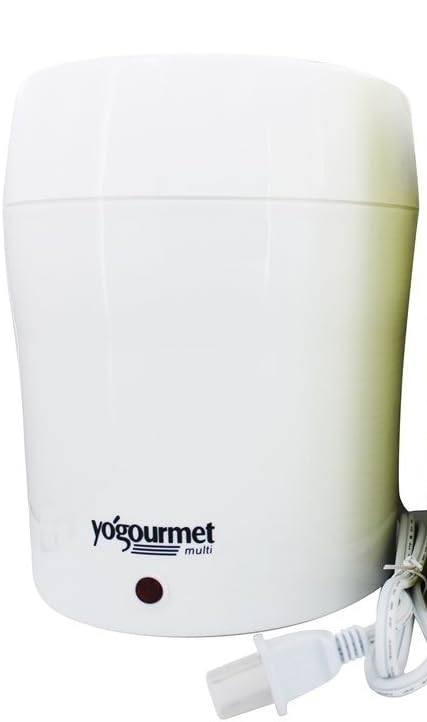
Yogourmet 104 Electric Yogurt Maker Buy Now
Yogourmet Electric Yogurt Maker
Yogourmet also has only one product for making yogurt at home, and they focused on making it as good as possible. The best feature of this unit is that the walls are filled with water, and water has a better thermal inertia than air. This results in lower temperature variations, maintaining the incubation environment at a uniform temperature.
The unit comes with a precision thermometer, which it is a must have, as a serious yogurt maker, so you don’t have to purchase this separately.
It also has a 2 liter, (approx 2 quart), container for your batch, with an airtight lid. The airtight lid prevents the batch from deteriorating while in the fridge. I don’t like plastics, but if you don’t have anything against them, it turns out this batch container is pretty good, both the container and the lid are BPA free, and code 5 food-grade plastic. Just don’t use them in the microwave, they are not meant for microwave ovens.
There is also a cotton bag, that can be used for straining the yogurt, if you want to make a Greek style yogurt, or labneh, (that means strained yogurt), or cheese. This is a great addition to the kit, as it will allow you to experiment with straining yogurt, or cheese making.
The one thing thing I didn’t like about this unit is the temperature control. The incubation environment inside the maker will get warmer than the recommended temperature for yogurt. This means a lot of guesswork, which is why you buy the unit in the first place. To avoid this, you can buy a Lamp Cord with a Dimmer switch, and slightly lower the power, so that the temperature goes down.

Euro Cuisine BM-QSHL-PFKK YM100 Automatic Yogurt Maker Buy Now
Euro-Cuisine YM100 Automatic Yogurt Maker
Eurocuisine has a few models of their famous now yogurt makers. The line ranges from the simplest model, YM80 to the most feature rich model YMX650.
The YM100 which we will review here, is the middle line product, has a timer which can go up to 15 hours, after which it automatically shuts off the unit. This feature is actually great, because it allows longer and slower incubation, which in turn will result in yogurt with more probiotics, or the SCD yogurt.
The unit allows incubation for up to 42 ounces of yogurt, which for some is too little, but I think it’s a decent capacity, unless you have a family of ten to feed.
The YM100 comes with 7 6oz glass jars, you know already that I love glass containers.
The three years warranty gives you peace of mind for a long time and many batches.
Euro-Cuisine YM100 Video Review
How to Make Yogurt at Home
Making yogurt at home is easy, even if you are a total beginner. Here are some brief instructions that should get you started. If you need more information, and you get very serious about it, you can read these instructions: How to make probiotic milk at home.
You need the following ingredients and materials:
- Milk, avoid UHT, if possible, although that works too
- Yogurt starter, (can be freeze dried cultures, or just cultured yogurt, or kefir milk)
- An incubation place, that keeps an even temperature for at least 6-8 hours
Steps for Making Yogurt
- Warm up your milk to around 180 F
- Let it cool off to around 110 F
- Add 1/2 cup dry dairy milk to your whole batch, this will make it thicker
- Mix your starter with a bit of the warmed milk, and stir in
- Add the starter to the batch, and then pour in jars
- Place your incubating milk into the yogurt maker
- Monitor the temperature, and do not let it go over 110 F
- After 6 – 8 hours at 110 F, depending on the starter, yogurt should be ready. Transfer it in the fridge.
If you want to make healthy yogurt, (SCD yogurt), you need to incubate the yogurt for 24 hours. Also, the temperature of your device might be a little too high from the manufacturer. Since most of these devices are very cheaply made, they don’t include any temperature controlling options. You are not completely stuck with the default temperature though, check the light dimmer below.

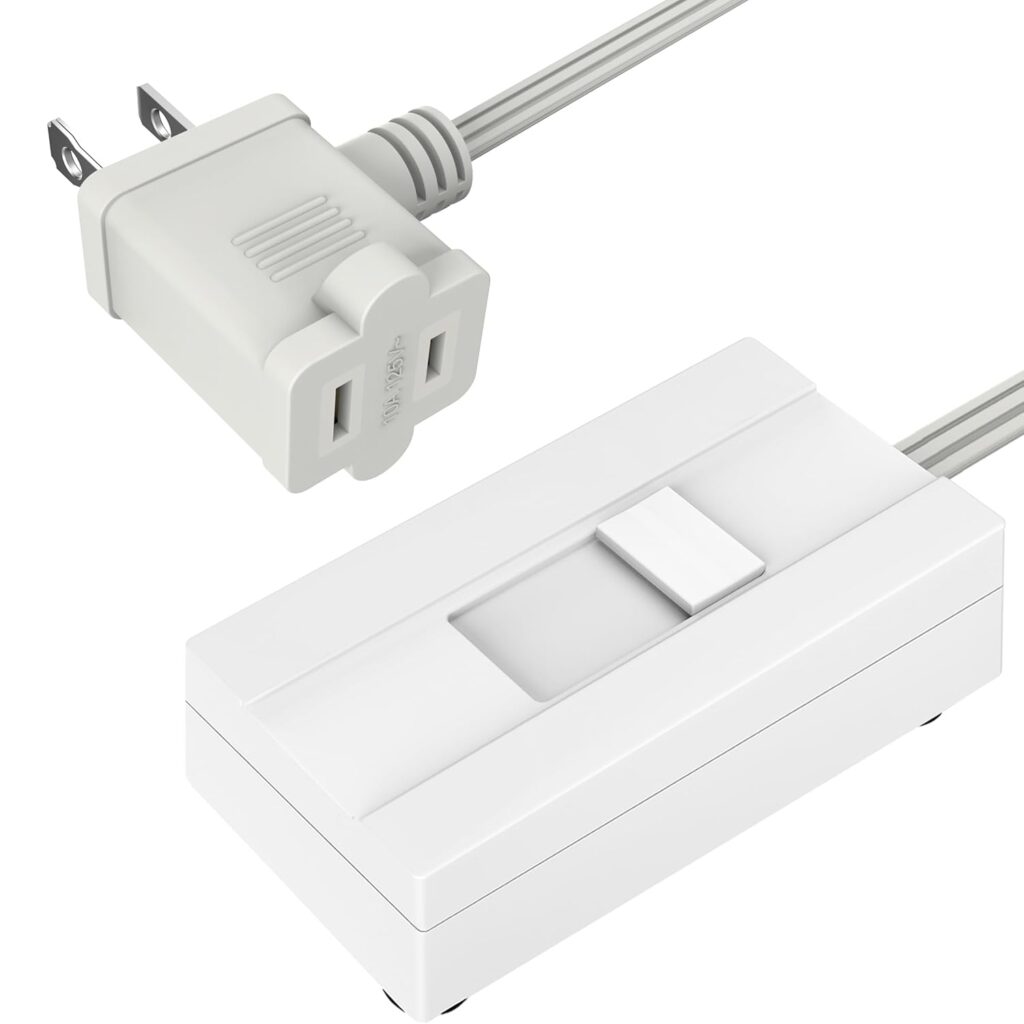
TOPGREENER Plug in Dimmer Slide Control 360 Watt Buy Now
Plug-In Lamp Dimmer Cord – Temperature Control for Yogurt Makers
Use a dimmer to control the temperature of your yogurt maker. Manufacturers will not add a temperature control feature to their units, because it increases the production costs, but that doesn’t mean you can’t spend a few bucks to eliminate all the guess work.
Make Your Own Yogurt Maker
I said at the begining of the article that I will explain whyI had to make my own yogurt maker. First of all, all yogurt maker on the market are build for small jars. Secondly, all of them have a small volume, which means you have to make yogurt on a regular basis. Thirdly, the temperature control, even with the dimmer, was not that accurate.
If you are technically inclined, consider this setup:
- An insulated container, a chep polystyrene cooler should do.
- An aluminum sheet as the heat conductor
- A source of heat, a reptile heater pad is just an idea.
- A thermostat with temperature controller, such as the Inkbird.
You get the idea. If you don’t then you will need to read my upcoming article on how to build your own yogurt maker.